


How to hold your chef's knife correctly?


You've taken the plunge. You're well equipped, congratulations! Your cuts seem faster and easier. But many of you are still wondering how to hold your new chef's knife perfectly.
Don't panic, there are two very easy tips that will help you master all cuts with agility.
To ensure you get the most out of yourChef's Knife, you need to learn how to use it properly, starting with how to hold it. Let's take a look at that together.
Why is holding your knife correctly important?
Before getting into the practical aspects, let's start by understanding why it's important to hold your knife correctly.
Efficiency
Holding your kitchen knife correctly will give youmore strength and stability to make controlled and faster cuts. Who would have thought that holding your knife correctly would give you more time to scroll on Instagram. In fact, we invite you to follow us there if you haven't already. You'll see, we'll laugh our heads off.
Safety
Holding your knife correctly also has another huge advantage, which is reducing the risk of injury. It prevents the blade from slipping and cutting or slicing your finger. Much more practical for scrolling.
Now that you know this, you no longer have any excuses like "laziness" or "my circus technique" works anyway. Let's get to practice.
A few tips for the perfect grip on your knife:
For maximum efficiency, we recommend equipping yourself with your best knife before moving on. This will make it easier to follow the tutorial.
The best knife grip technique: the Pliers technique
There are two techniques for holding your knife: the Hammer grip and the Pliers grip. Personally, we prefer the Pliers technique which quickly allows you to gain precision and speed. So this is the one we're going to look at together.
Step 1:
Start by wrapping your three lower fingers of the hand holding the knife around the handle.
Step 2:
Then pinch the blade with your thumb and index finger.
For comic book fans, we've even put together two diagrams to give you an idea:


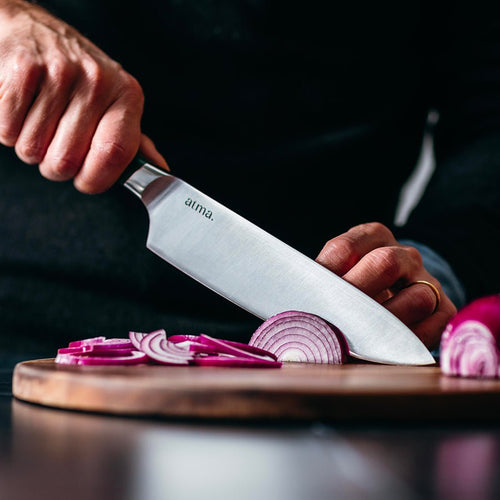
And in real life, this is what it looks like:

At first, this position will probably bother you. That's normal, because it's not natural. But you'll get used to it. The more you try, the more dexterity you'll gain.
Positioning the second hand holding the food to be cut: the Claw technique.
Now that you know how to hold your knife, let's move on to the hand that holds your food.
This is the hand that guides the knife and will allow you to:
- Speed up your cuts
- Control the thickness of your slices
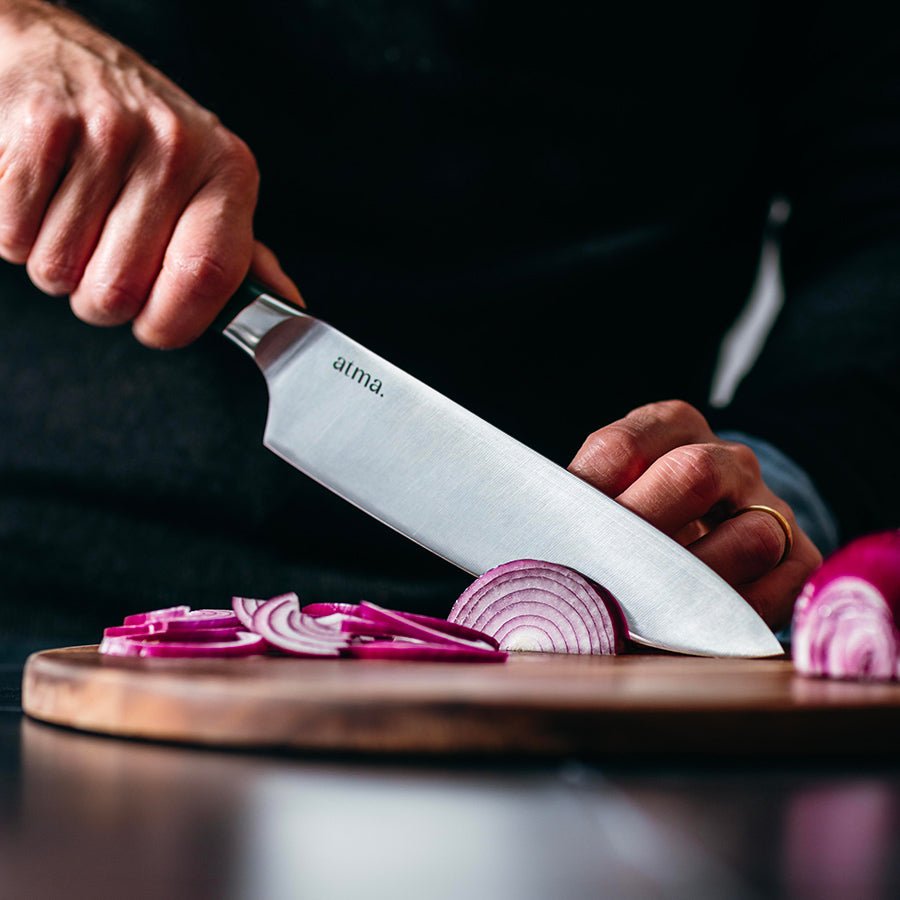
For this hand, we use the Claw technique: place your three middle fingers on your food to hold it in position.
Keep those three fingers tightly bent so that your knuckles block the blade and protect your fingers from any cuts, at least when the blade is held straight.
Here's what it looks like:


Keep your knife in contact with its cutting pad
Don't think that by the end of reading this article, you'll look like Etchebest in the kitchen. First things first. Above all, remember to maintain the correct position of your fingers, whether on the food or on the knife. Speed will come with repetition.
Stay focused on your movement: a false move and a cut finger can happen quickly, especially if your knives are blunt. It's also important to have well-maintained and sharpened knives. We can't stress this enough.
You know everything! All that's left is for you to practice mastering these techniques to skillfully cut your food!
Get cooking!
PS: A little surprise from the chef!
There are already over 3,000 of you following us on Instagram. (If you haven't, there's still time to do so right here.)
A huge thank you! It warms our hearts to see that more and more of us want to break the mold in the kitchen and simply have fun.
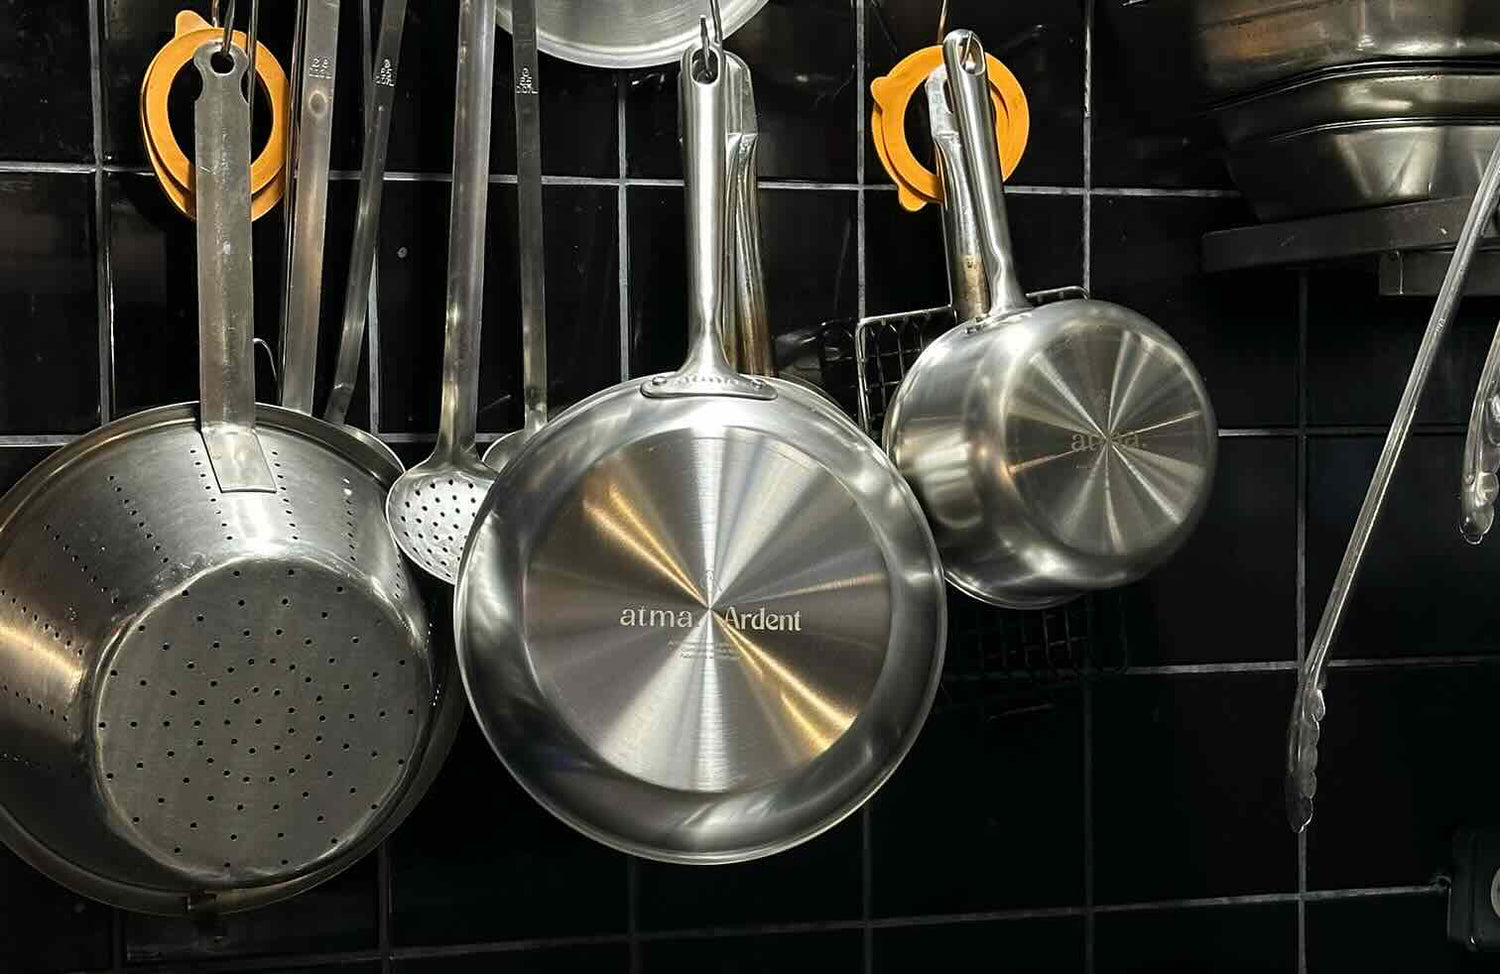
Discover our best sellers
By Romain De Bona
Other articles
CHEF PORTRAIT: We met Laure Weiss
Which pan for a ceramic hob?
